How To Add Text On A Path In Photoshop
Thinking about adding text along a custom path??? Typing along a custom path enables us to make words or sentences in different shapes. It will be great addition to the designing aspects of a creative document.
Let’s check this Photoshop tutorial to accomplish this task.
Compatible platforms : Photoshop CS6 or Photoshop CC
Let’s begin the task by opening a background image and then creating path. For that we can choose multiple options like circle, ellipse, rectangle tools or pen tool for creating paths.
Step 1 : Opening required background image
Open the required background image for your document. Here I am using a sample image from my images gallery.
Step 2 : Selecting the shape
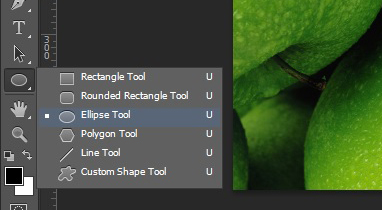
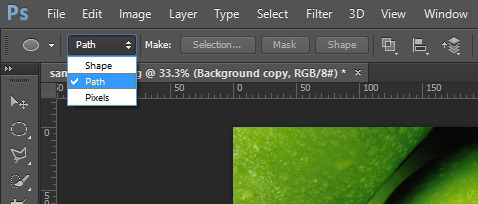
Select ellipse drawing tool from Tool Box. With the ellipse tool selected, the Options Bar along the Tool Box will set to Shape option by default. Change it to Path option.
Step 3 : Drawing the ellipse
To draw the path drag the mouse by holding the mouse click and Shift Button. When mouse reaches from on point to another we can observe that a perfect circle is getting formed. Then release the mouse to get a perfectly shaped circle.
Step 4 : Selecting type tool and its properties
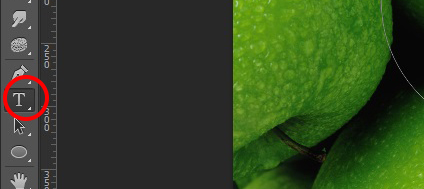
In this step we will add text to our custom made path. From the tool box, select horizontal type tool. And don’t forget to set font style, size and alignment. The above figure shows how my document has been set to appropriate values.
Step 5 : Typing along the path
Click on the path and start typing while the cursor appears along the path
Step 6 : Hiding the path
After typing the text, our path is still visible under the text. To make it disappear, click any of the background layer. We can also choose whether the entered text should be inside or outside the path. It can be accomplished by using Path Selection Tool which is lying under the text tool in tool box.
final result!!!!


