Simplest Way for Smoothening The Skin In Photoshop
Hello everyone, here I am going to show you guys a simple technique to smoothing the skin without blurring the eyes and mouth. We can use versions like cs5, cs6 or higher versions like Photoshop cc also. The method is followed by a bunch of steps combining the sharpening, inverting and masking techniques. Its all combined to get our specific result. So more you understand these methods, you can use these for other purposes well.
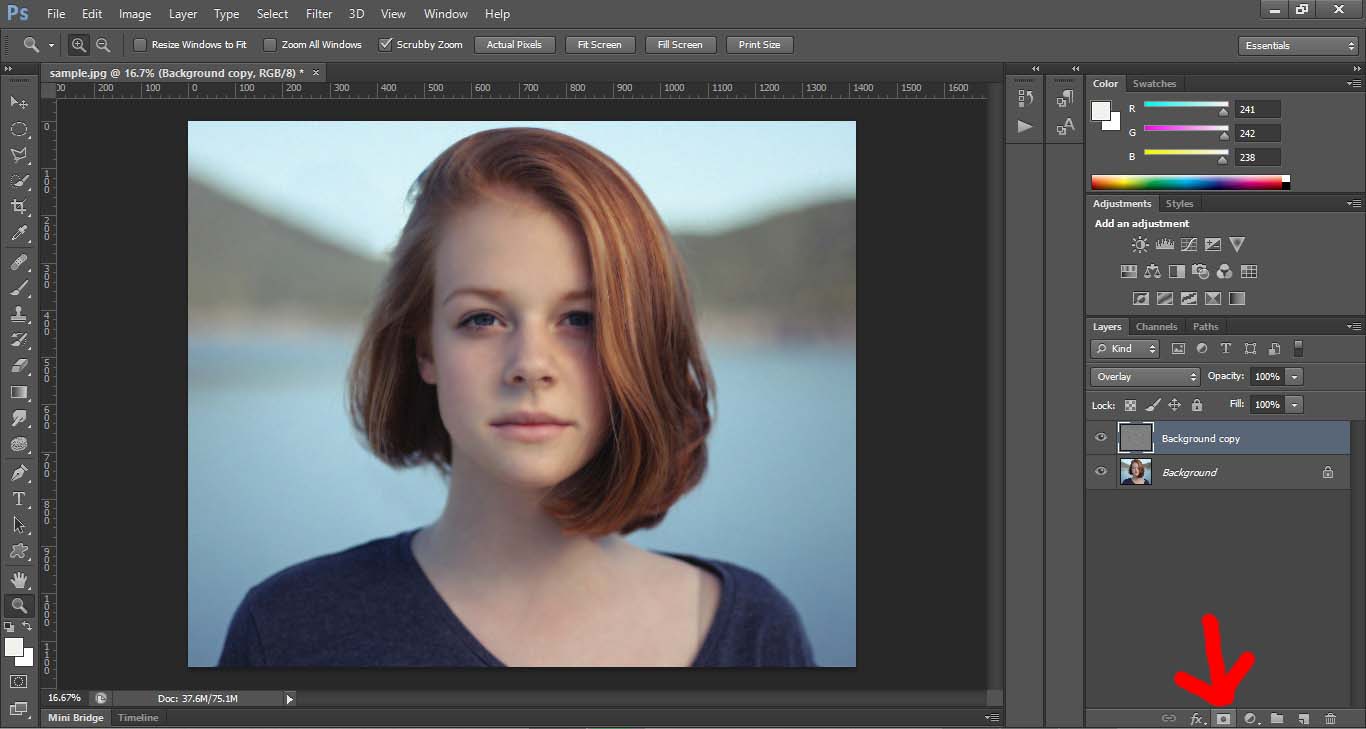
Here’s the image I am working for these tutorial. It’s a free sample image sourced from www. Pexels.com
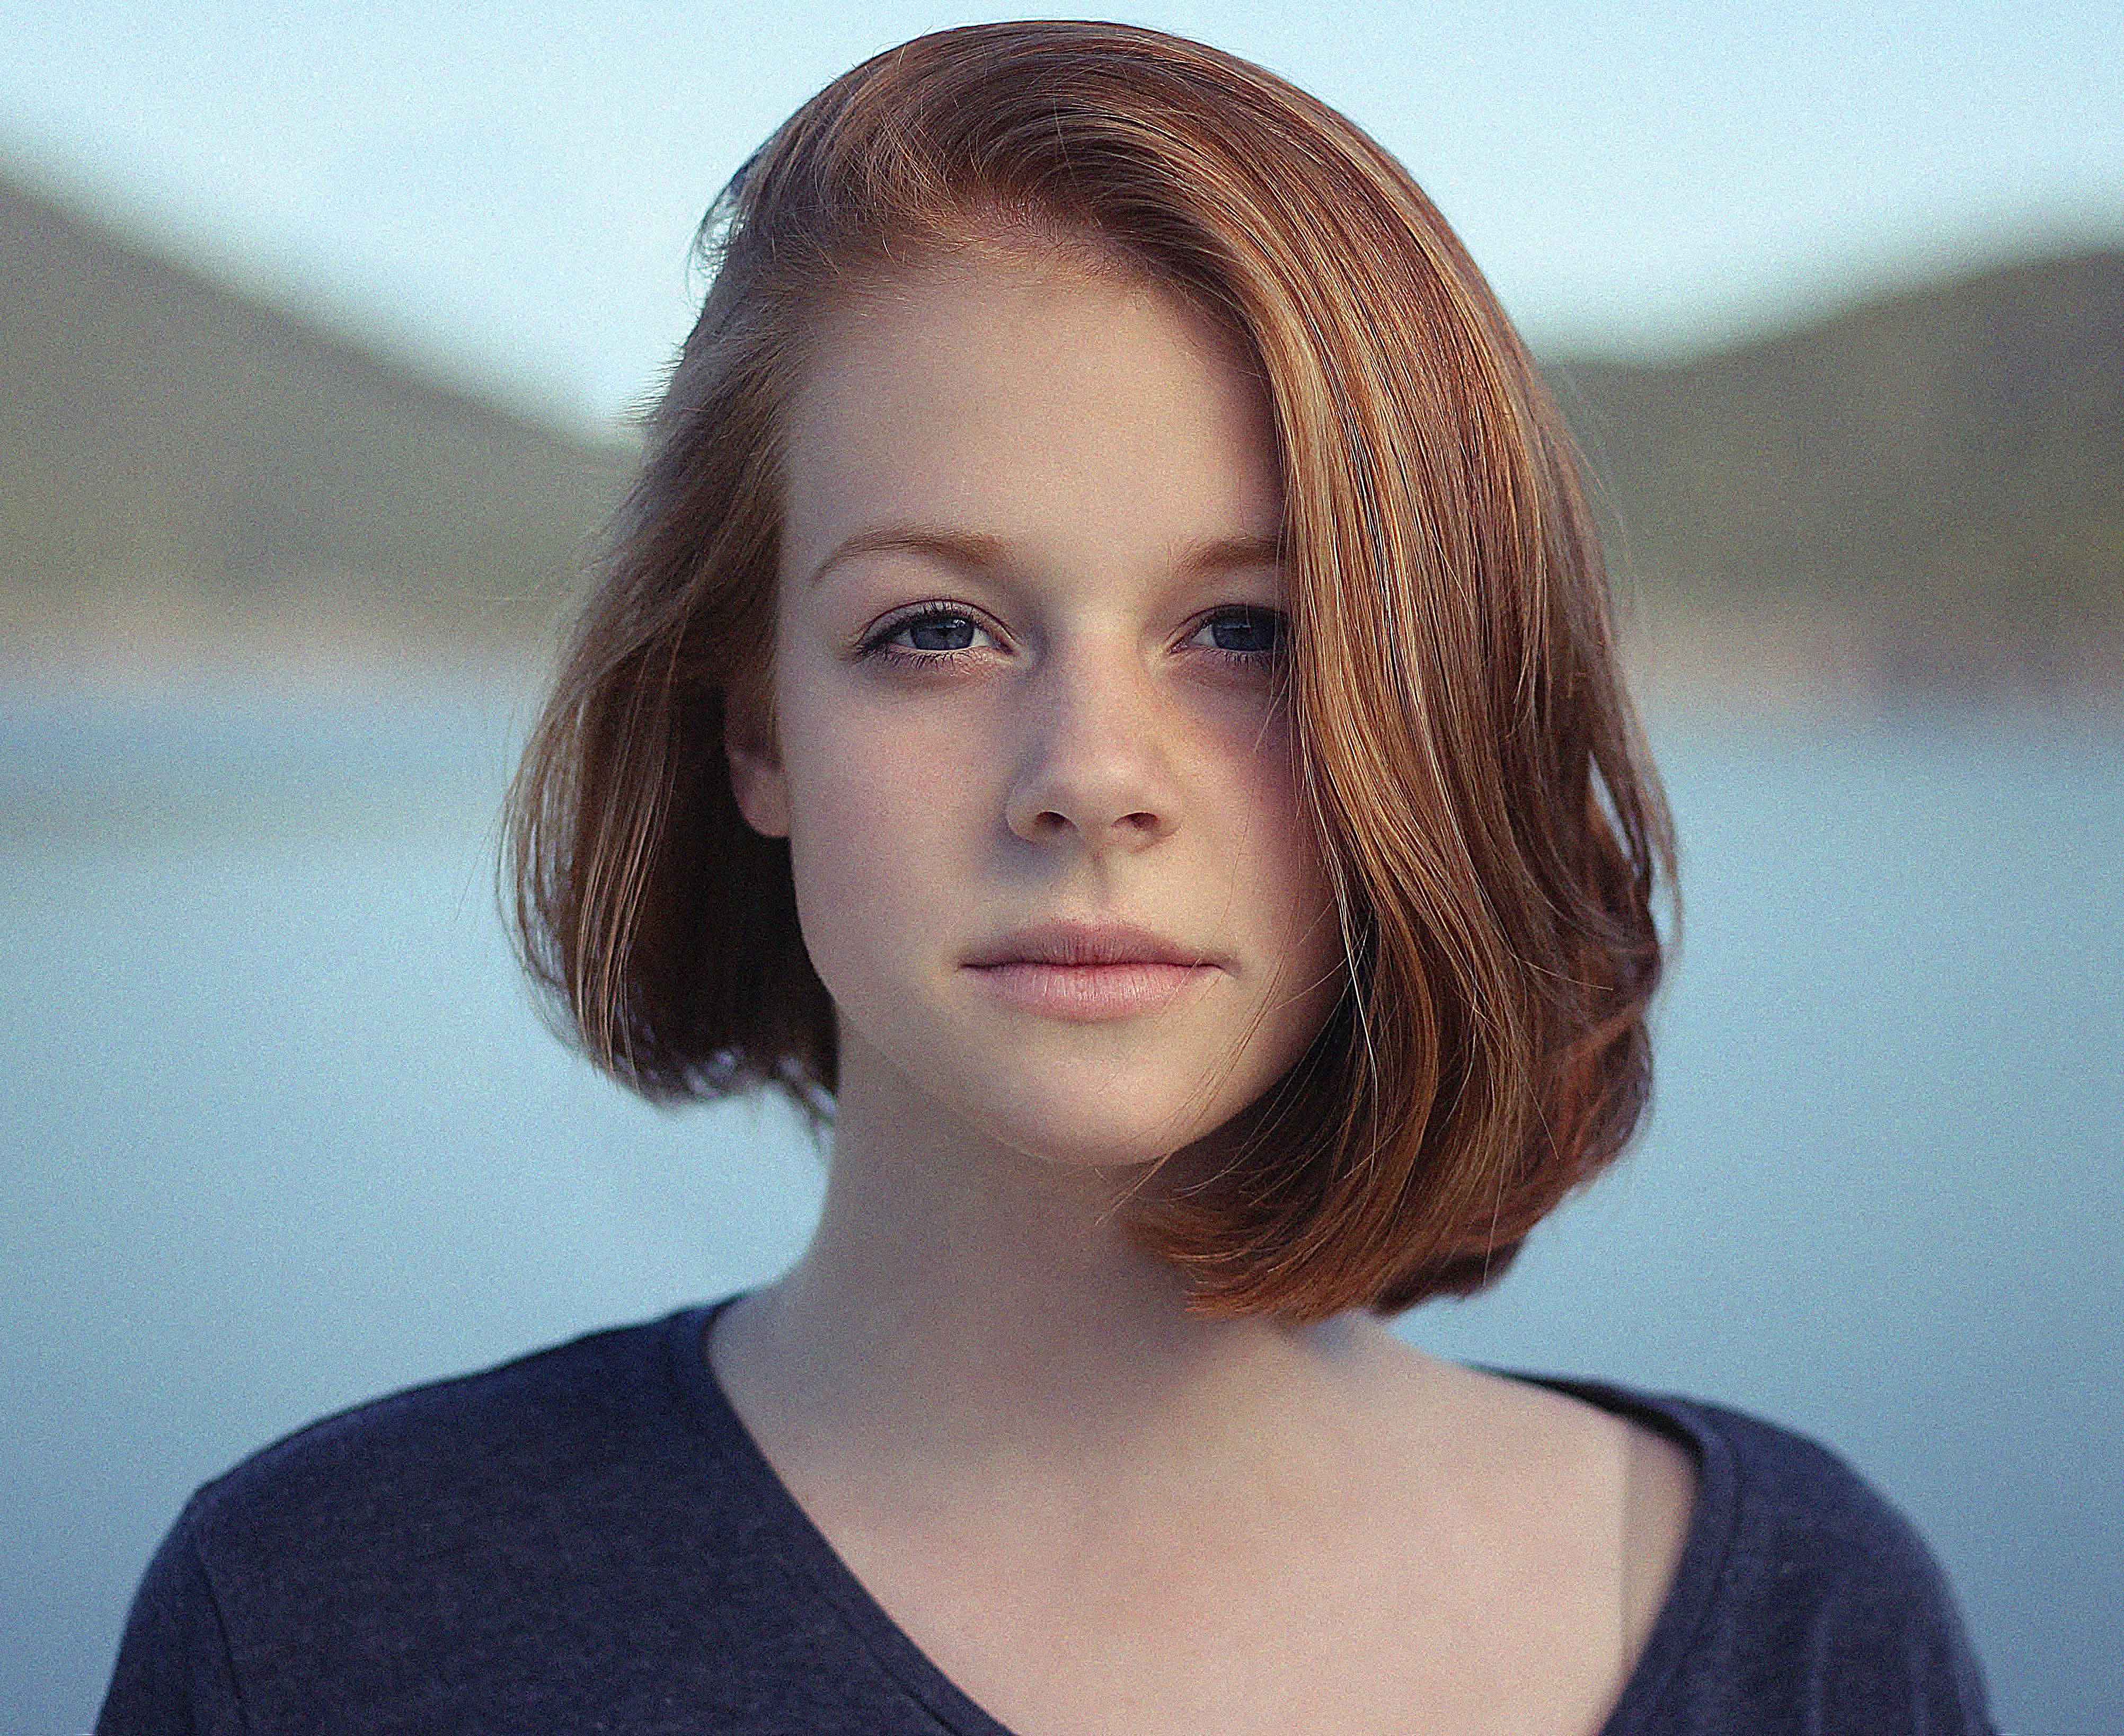
We can see the sourced image is already a perfect one. But little bit noise and sharpened tones demanding a need for smoothing her skin.
So lets get start our work…..
Step 1 : Duplicate the background layer
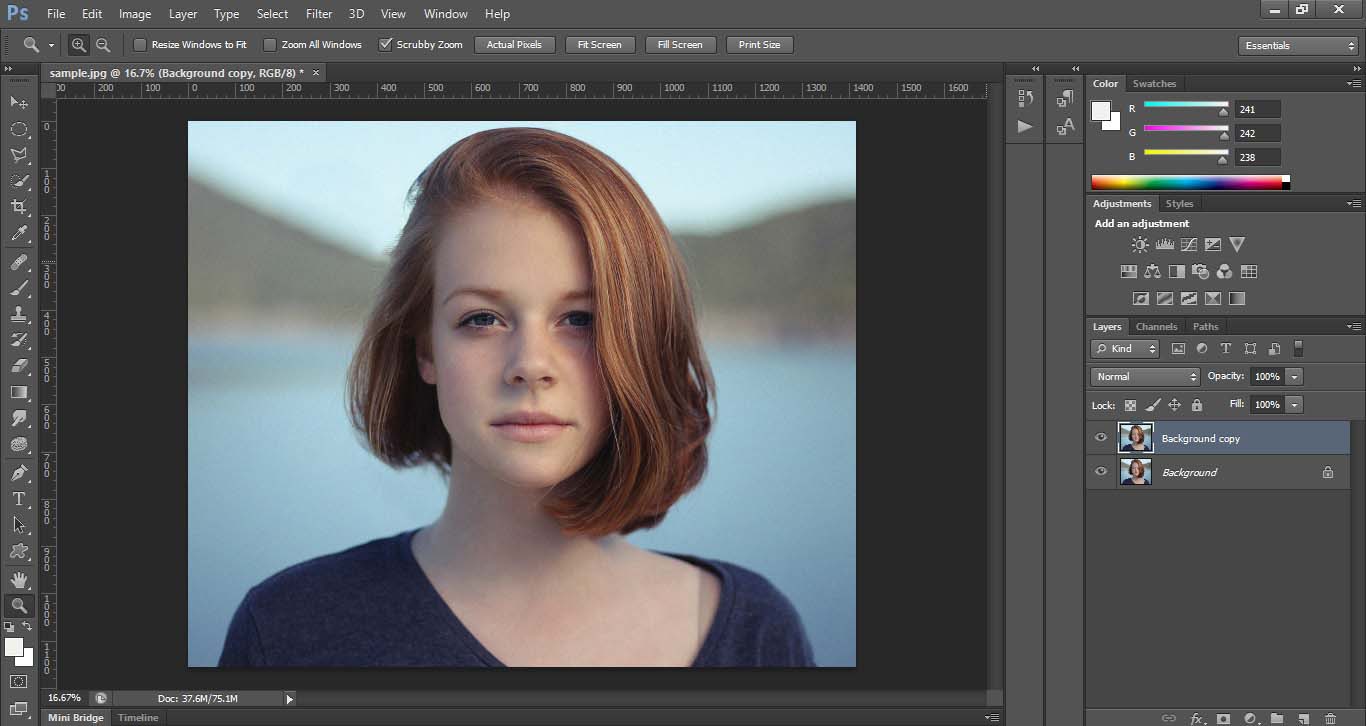
Now we can see that there is a new layer named “background copy” was formed. The purpose for creating a duplicate layer is to retain the original image. Now navigate to step 2.
Step 2 : Change the blend mode of “background copy” to overlay.
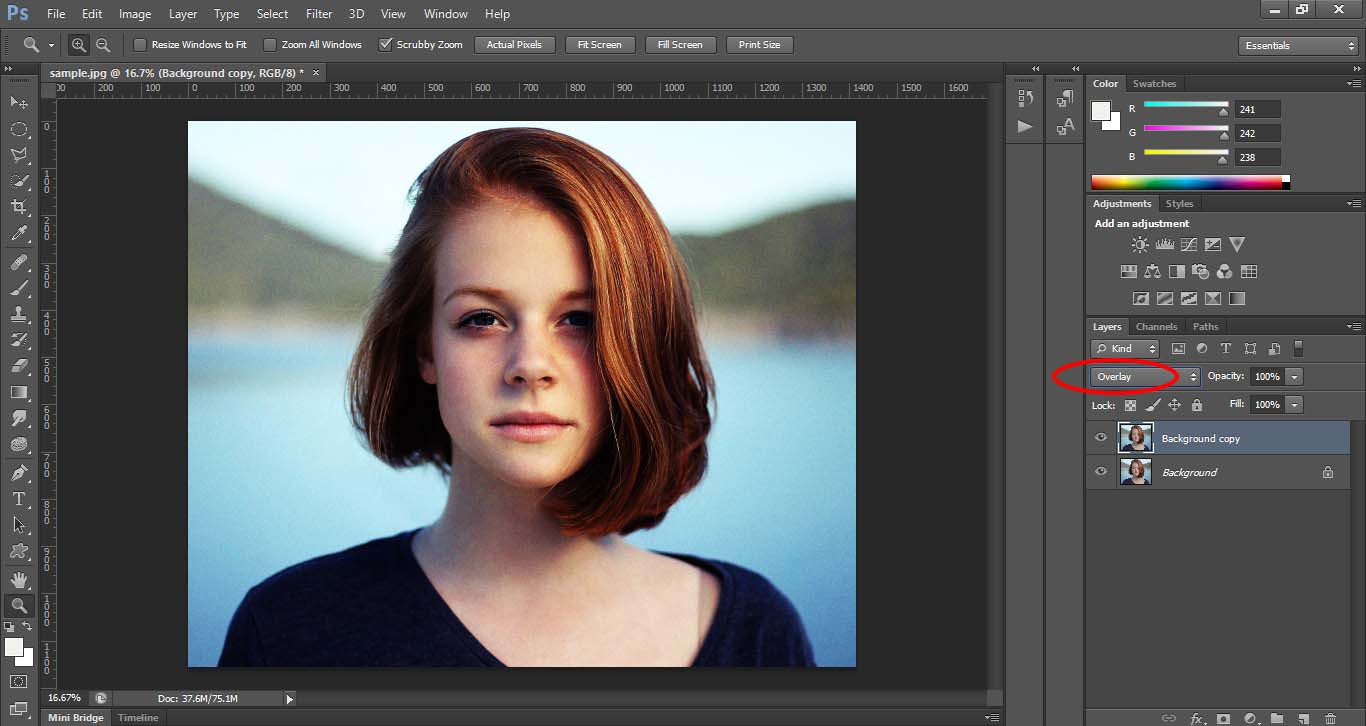
Here we can clearly see the change happened to our source image. It seems to be a nice effect having a high contrast and saturation. Now its time to navigate to next step.
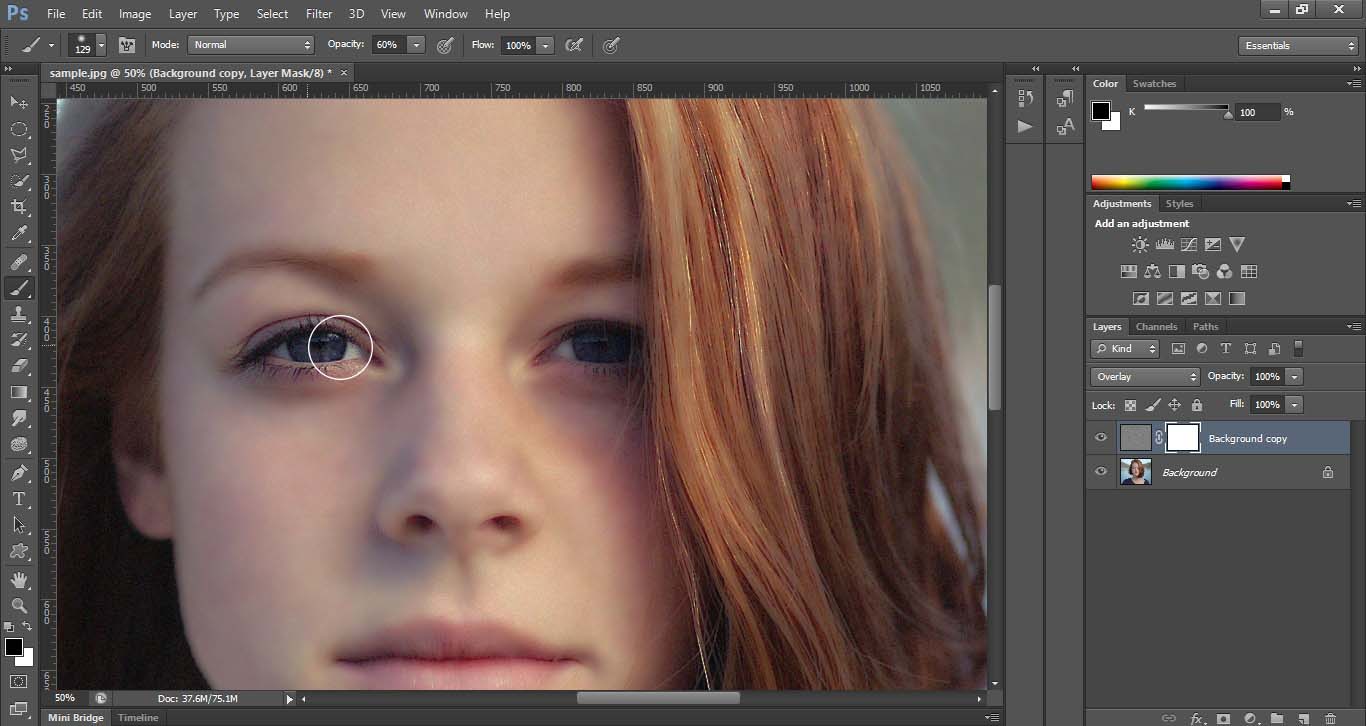
Step 3 : Add high pass filter to layer “background copy”.
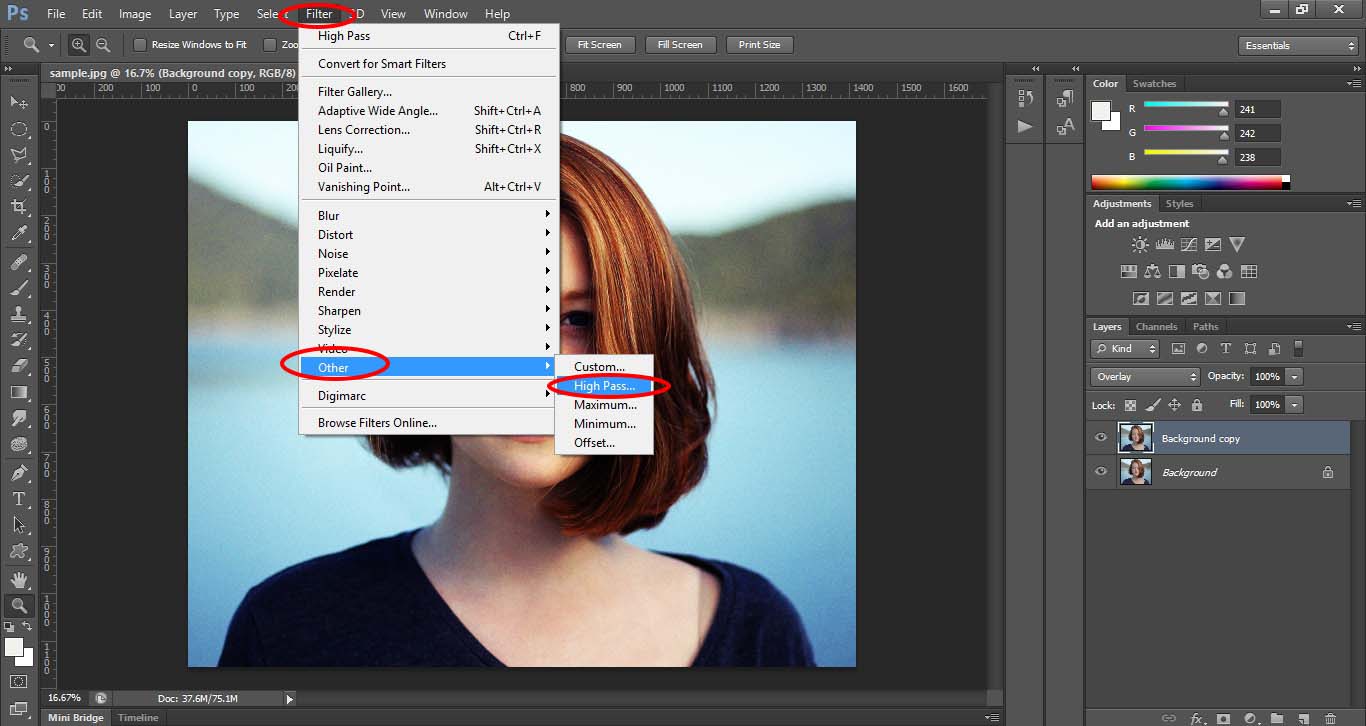
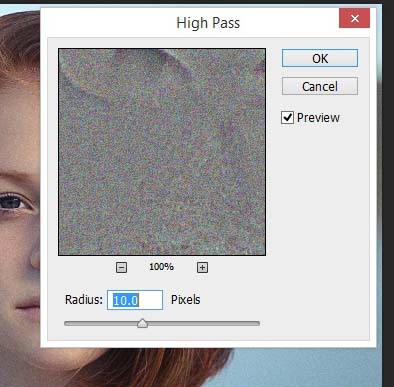
Go to filter>other>high pass to apply high pass filter. Then a dialogue box will appear and a slider to select the amount needed. Select appropriate value of amount according to the specified result that we want. Here we have to remember something that, the more we want to get blur the image then go for more value of amount in high pass filter. If we are using a high resolution image try to give the value in between 7-10. Here am using a high resolution image so I gave 10.
High pass filter is comparatively an advanced technique to smooth the image. It has been used widely to acquire most advanced sharpened output. Then click “ok”.
Step 4 : Invert the layer “background copy”
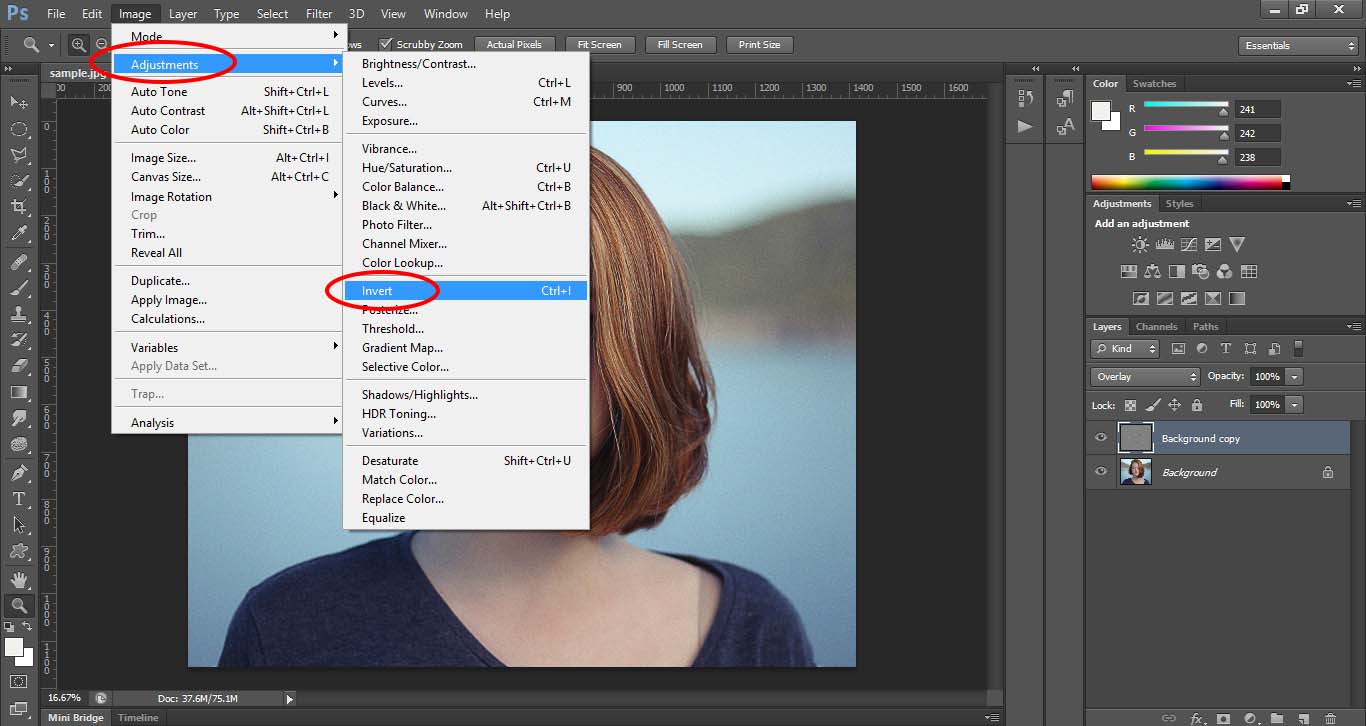

We will get an entirely blurred image navigating through Image>adjustments>invert. Here we can see that the entire features including eyes, mouth everything gets altered there is no need to blur the entire image. So I need to cancel the the blurred effect from the important facial features like eyes, mouth, hair. For that am going to use layer mask. And also note that, to give some realistic smoothed effect we can reduce the opacity of blurred layer.
Step 5 : Apply layer mask to layer “background copy”

To cancel the blurred effect of image, select foreground color to black and select the brush tool with opacity 60. To cancel the entire blurred effect we can set the opacity value to 100.
Then move along through the facial features and cancel the blurred effect. We can clearly see that the blurred portion is getting reverting back.
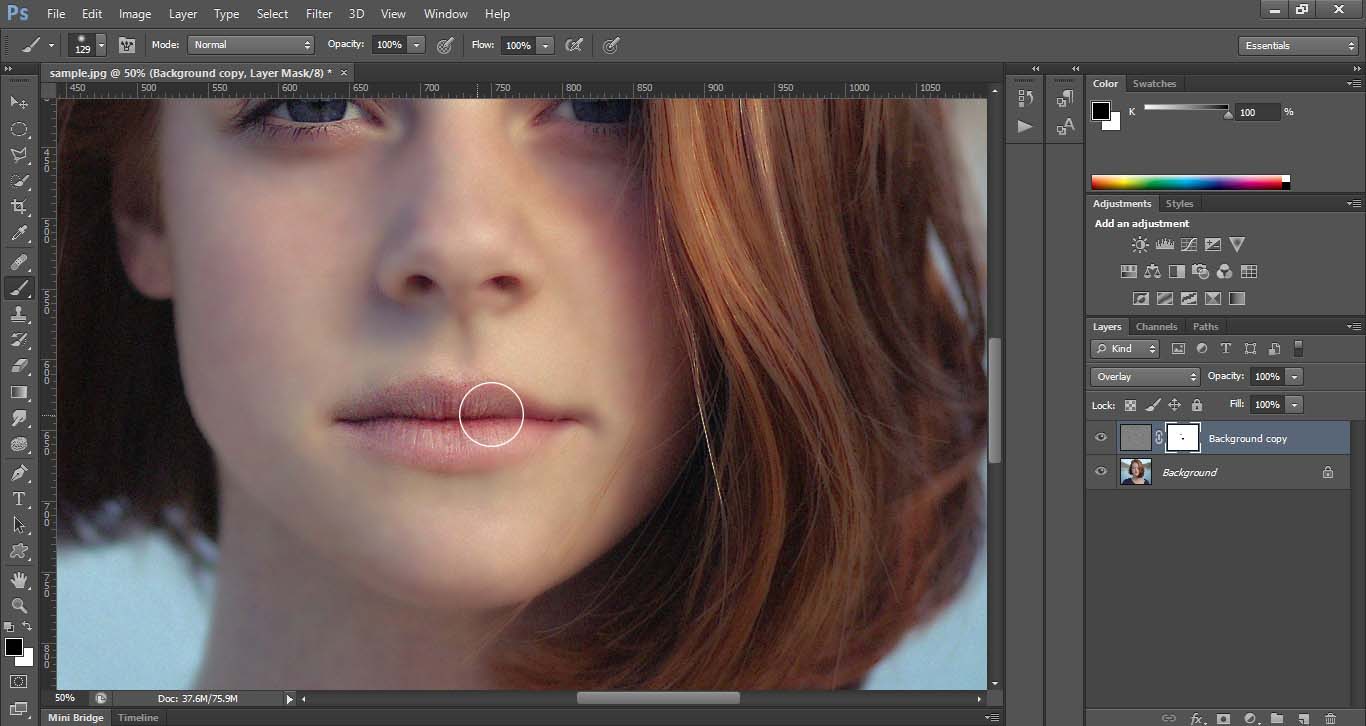
Similarly treat every facial features like eye brows, eyes, nose, mouth, hair. Then acquire finalized smoothed skin effect.
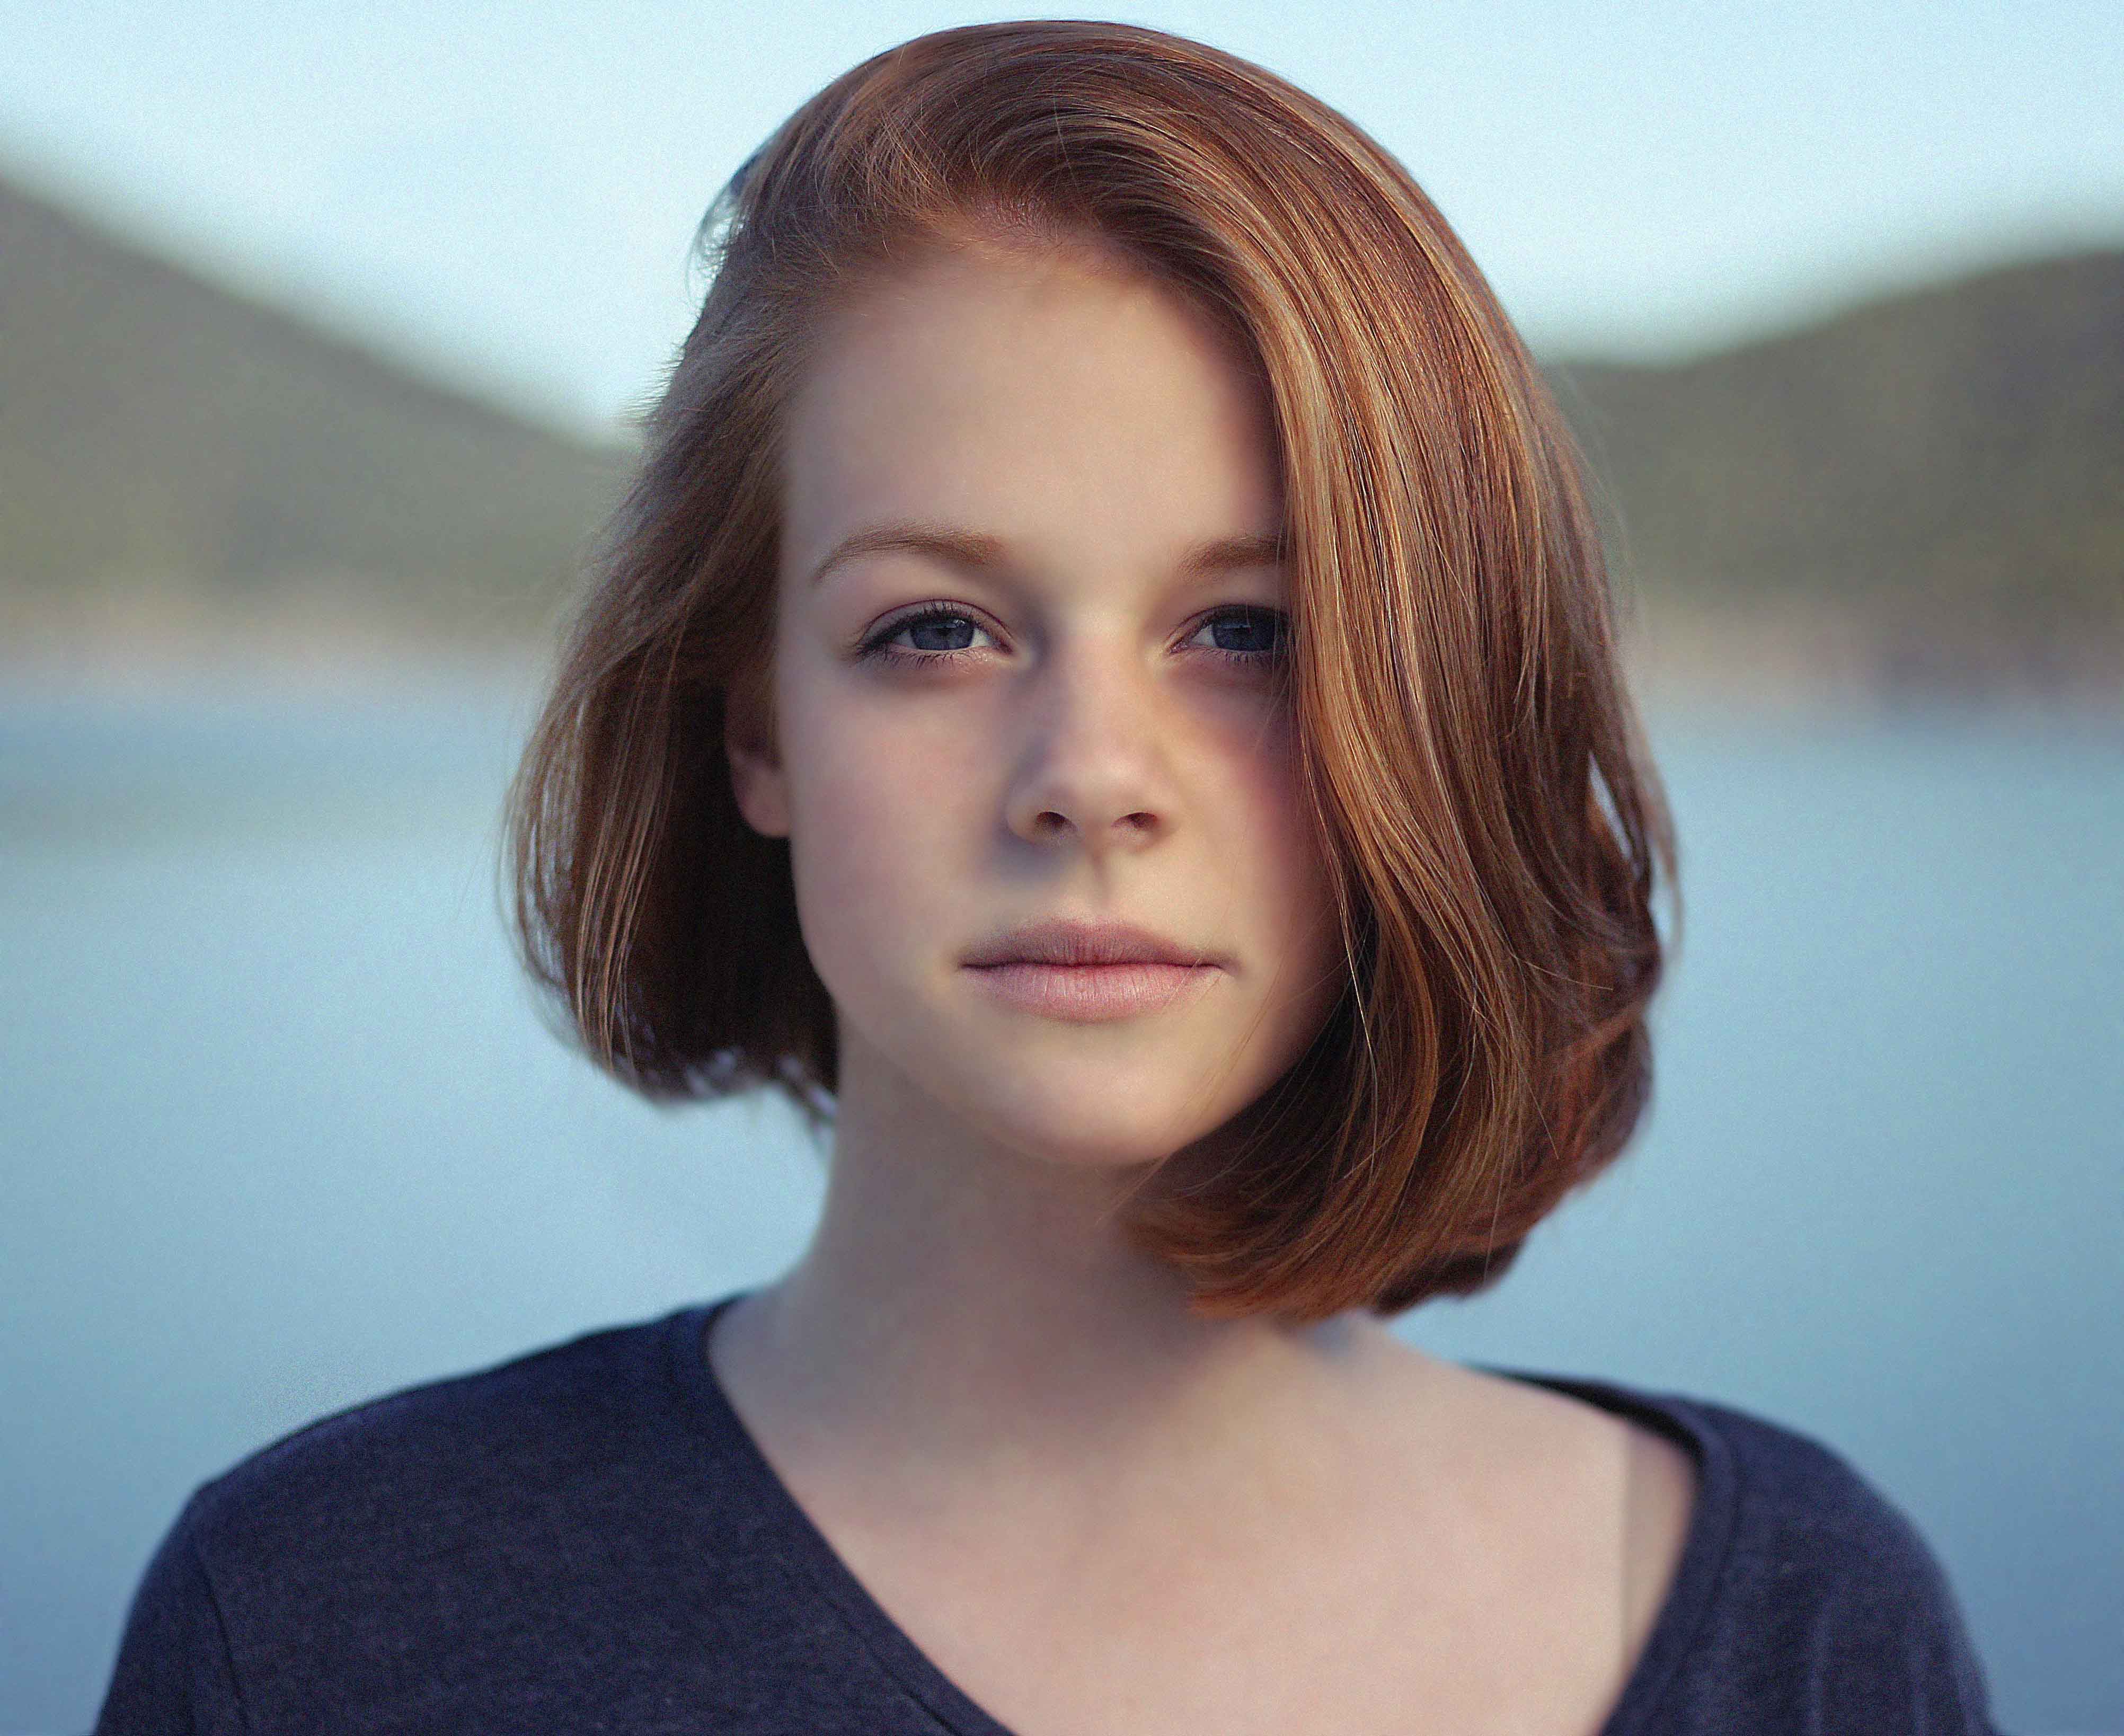
Final Result..!!!