Selective Color Effect or Color Splash Effect Using Photoshop
Hello everyone,
Here I am going to show how we can achieve the color splash or selective color effect. This is a commonly used but class effect which is widely occupied among the creative designers. This can be achieved by several techniques like combination of selection tools and without selection tools. While using selection tools, consume time comparatively more than any criteria of achieving the result. This tutorial show you how to achieve this effect using black and white adjustment layer and layer making which is comparatively less time consuming accurate.
Am using Photoshop cc here. It is also compatible with cs6 also.
Step 1 : Select suitable image
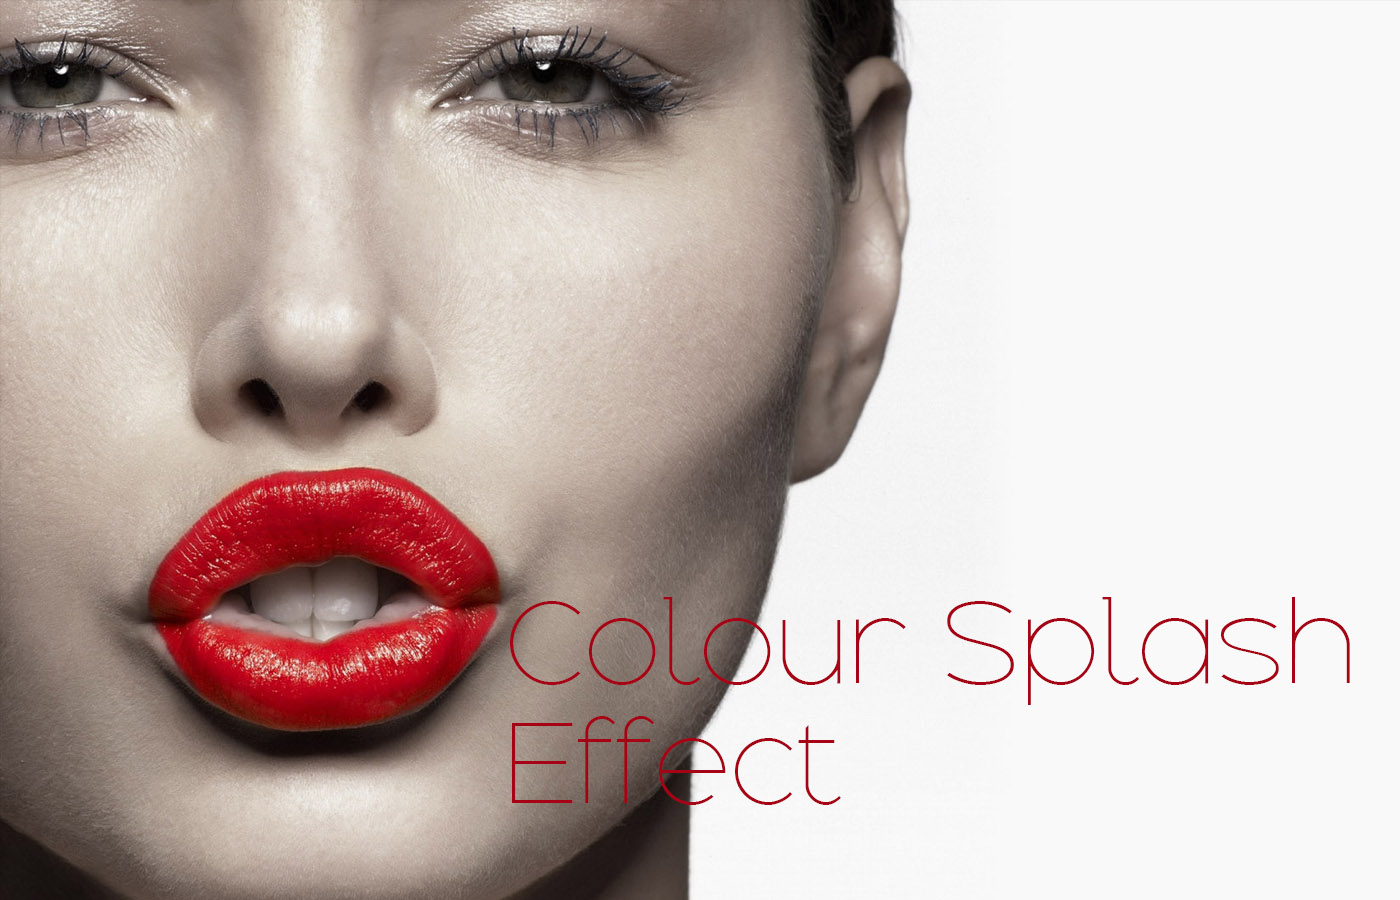
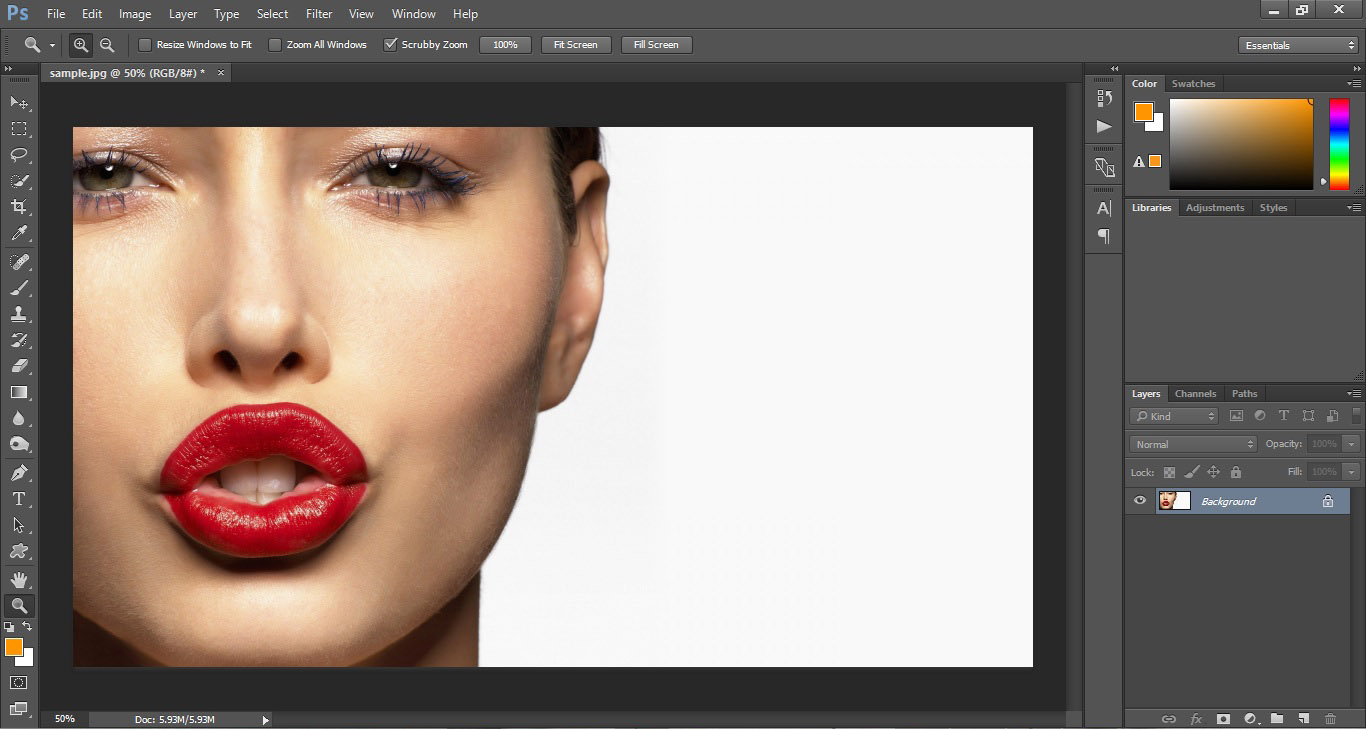
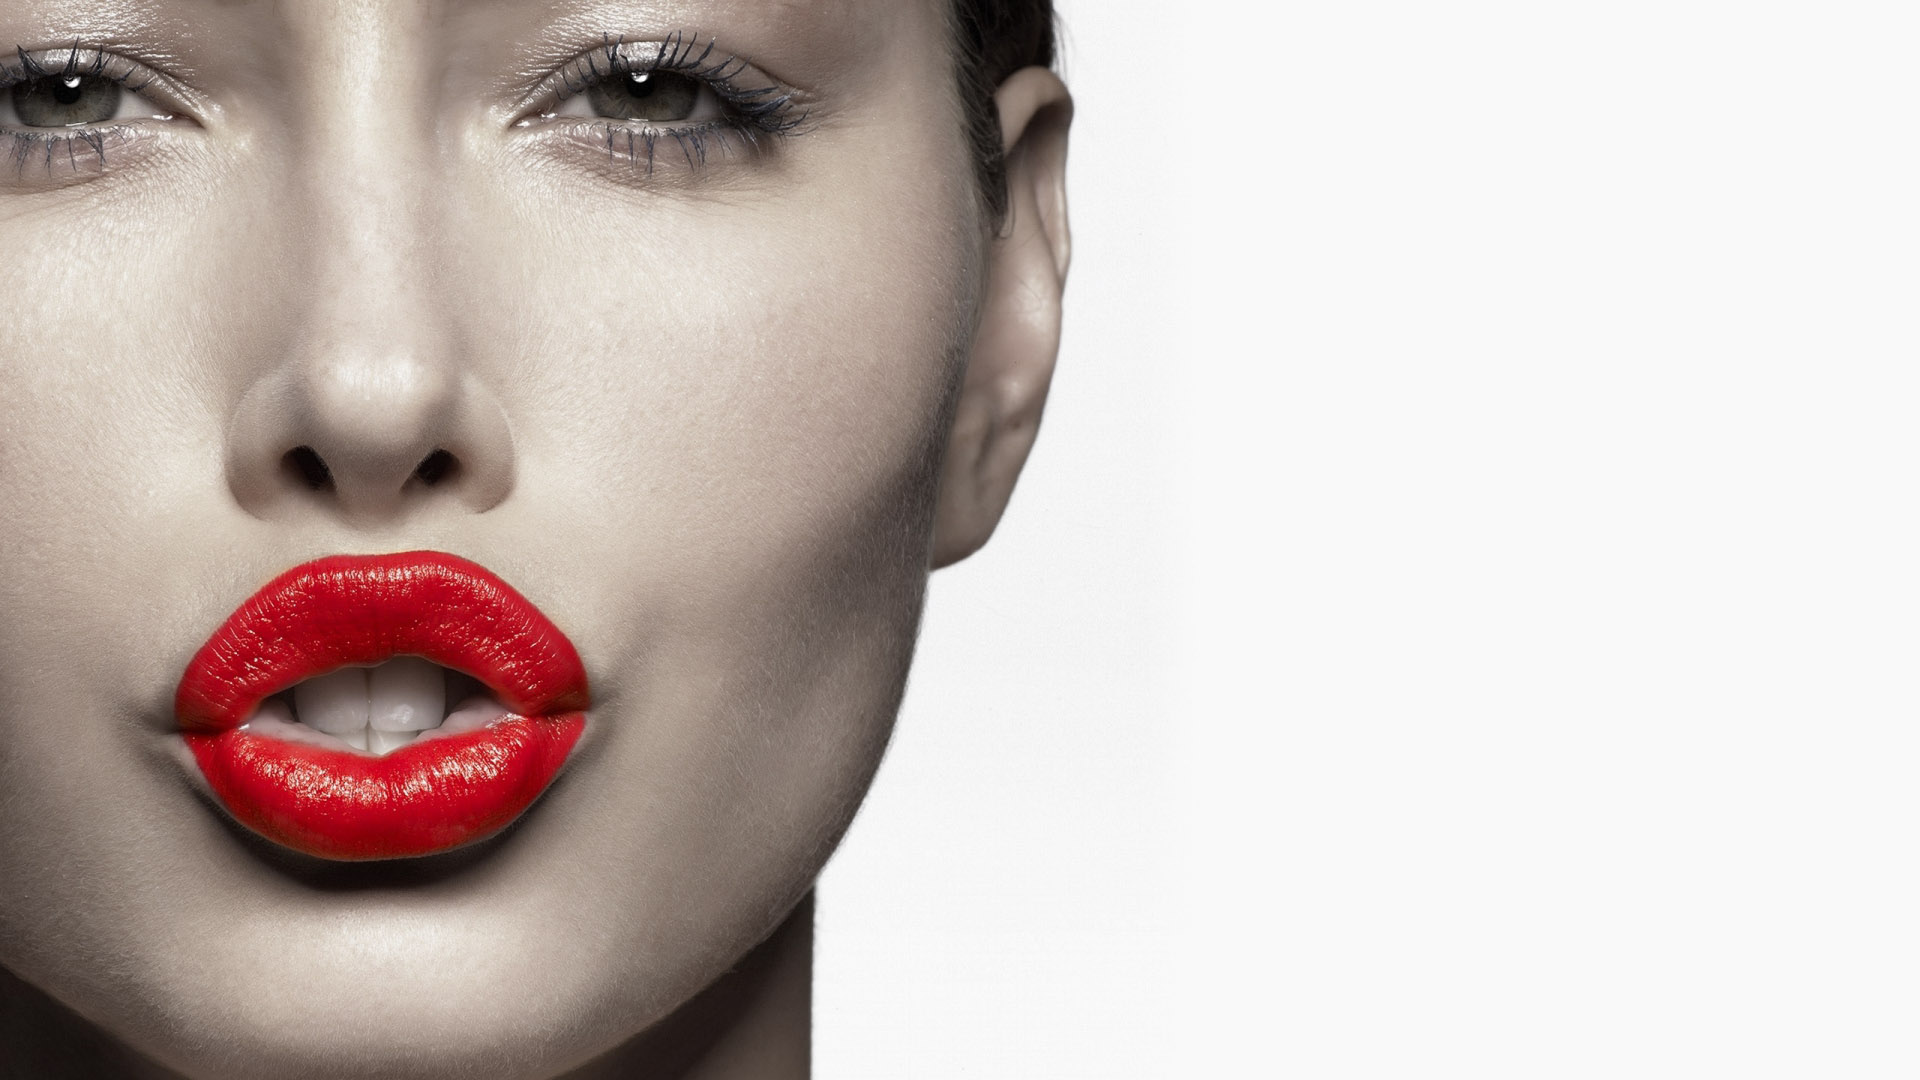
If you are quite familiar with the result of the effect that you are trying to give, then selecting a suitable image wont be a problem for you. Here I selected a sample image with a girl having high saturated red lipsticks. Here the effect that I want to give was, making all other colors bit more desaturated except the lips color. So the resultant image will certainly pop up the lip’s red color.
Step 2 : Add a Black and White adjustment layer
Click on the New Fill or Adjustment Layer icon at the bottom of the Layers panel. Here without affecting the original background image the image gets turned black and white. If you want to revert back the changes we can simply delete the adjustment layer. From the properties panel of the black and white adjustment layer we can control the values for adjustment layer. For the 3 primary colors and for the 3 secondary colors we can find 6 sliders to adjust its values. After giving appropriate values for each we can move on to next step.
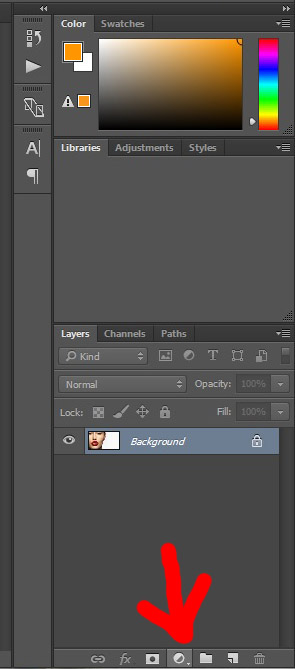
Click on the Icon indicated by red arrow.
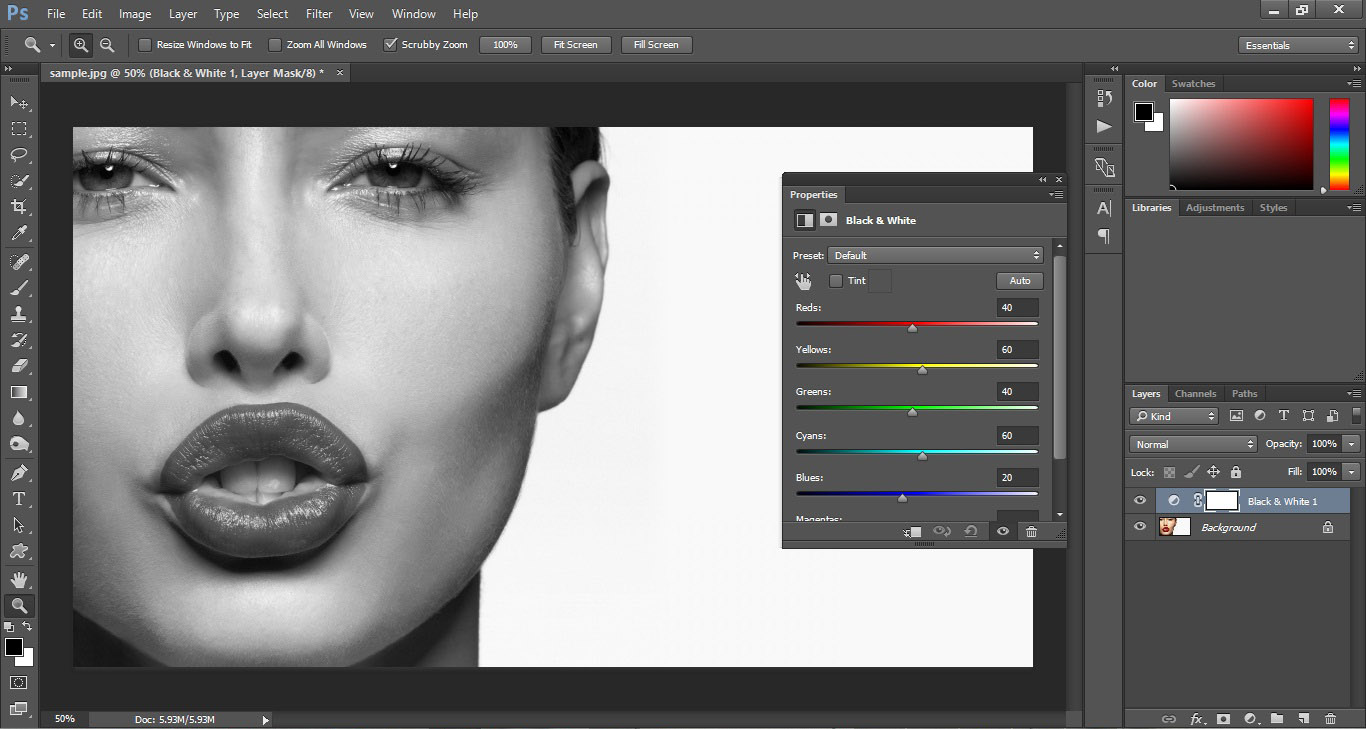
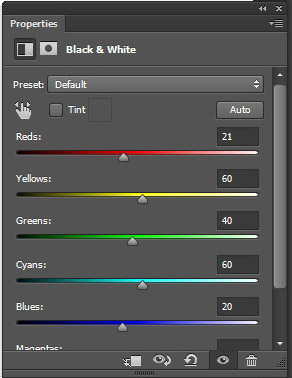
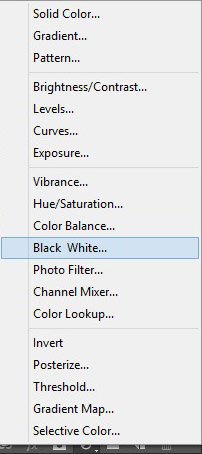
Adjust the sliders for corresponding colors.
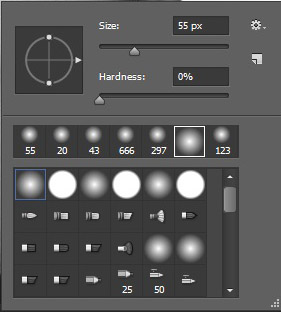
Step 3 : Select the brush tool
Now we are going to use the layer mask property of adjustment layer. After the adjustment layer was formed we can see the layer mask icon along with that layer. Select that icon. Then select soft rounded brush tool. After that navigate colors panel. Select foreground color to black and background color to white.
![]()
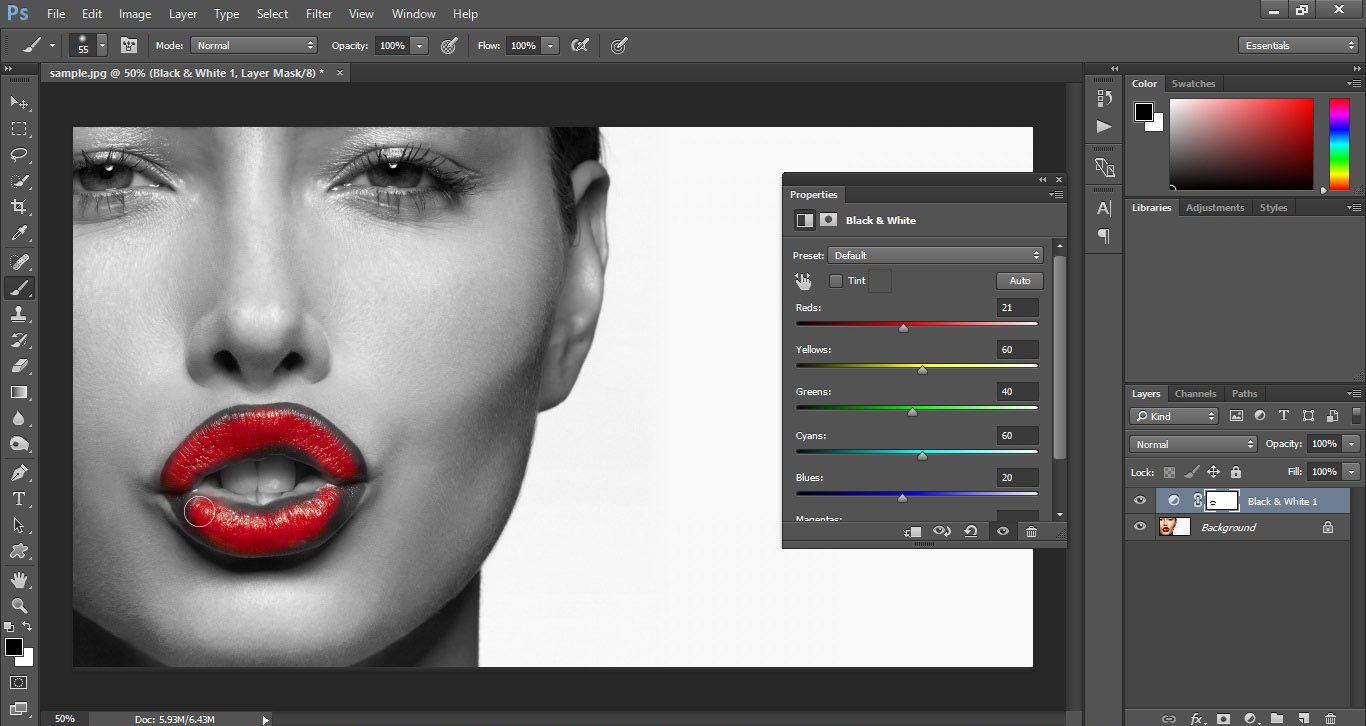
Step 4 : Paint with brush to bring out the color we want
Now with the selected brush, paint along the part of picture where we want to bring out the color. Here am painted along the lips of the girl. We can see that the red color is getting out from the black and white form. Try to use large radius brush inside the part while small radius brush along the edges for accurate result. For some slightly dramatic appearance we can change the opacity of the adjustment layer and also we can adjust the values in the properties panel.

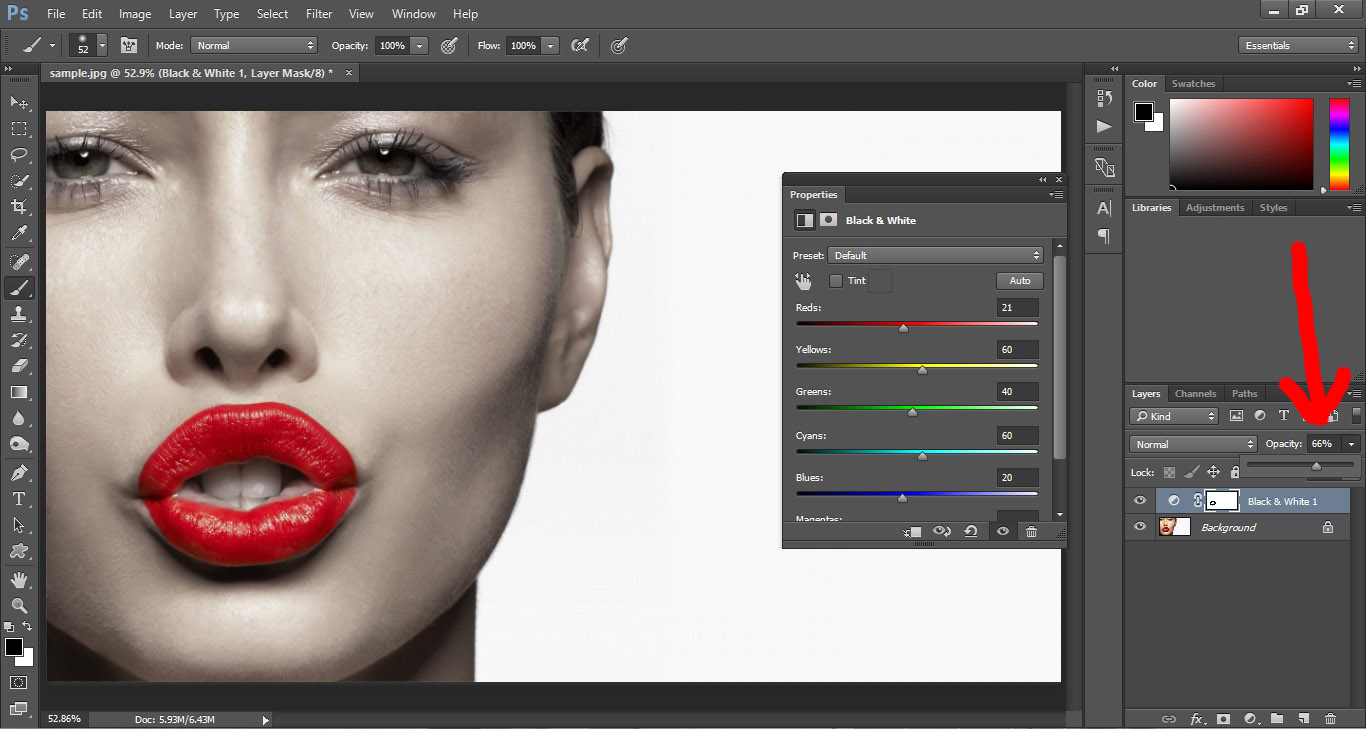
Adjust the opacity of adjustment layer to give a bit of desaturated effect.
Final Result!!!!